


As flute players, good flute tone is something we all strive towards. We want to produce that beautiful singing sound when we play.
Perhaps you’ve tried and failed when it comes to tone, or you’ve only partially succeeded. The good news is that a good tone is well within your reach! I’ll show you how by sharing my 6 tried-and-tested easy-to-follow steps on how to fix your tone.
Before I dive into this topic though, a word of caution. Don’t try to remedy all of these points at once, but rather tackle them step by step, and focus on one step at a time. They build on each other, so start at step 1 and work your way forward. Right, ready? Here goes!
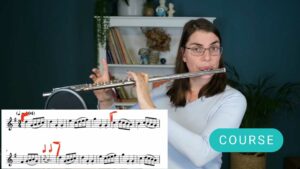
If you’d like to watch the video version of these 6 steps, along with a demonstration of how to play a nice long-tone exercise, click on this video here.

Step 1: Position of the body to flute
First things first! Let’s start by focusing on the position of your body to the flute. It may seem obvious, but so many students have a bad tone because they’re simply not positioning their bodies correctly. Making sure your body is aligned to your flute may seem simple, but it can be crucial to your tone.
So how do we do this? Start by making sure your feet are firmly planted on the ground. This means you’re standing securely on both legs and not leaning forward or back. You’re also not locking your knees. Your hips, shoulders and knees should all be in alignment – you shouldn’t be twisting your shoulders to the side and also not be craning your head.
Pivot your head over gently and put a 30 to 45-degree angle between your shoulders and the flute. If you’d like a little more guidance on how to do this, check out my videos on balancing your body and finding a balanced flute posture below.
One last word on this – don’t be too hard on yourself if you’re not getting your posture a hundred percent right yet. Even small improvements could already make a big difference in your tone.
Step 2: Breathing and support
As flutists, we play a wind instrument. This means we use our breath to create sound. What creates this breath? You and your moving body do!
Experiment:
To illustrate this principle, I want you to try a small experiment with me. Twist your shoulder over your hips so they’re no longer aligned and now breathe in. Bring your body back into alignment so that your shoulders are squarely over your hips and breathe in again. Do you notice the incredible difference?


When breathing, we don’t want to be tense and have our shoulders up and tummies sucked in. Instead, we should be expanding and filling up like a beautiful big balloon. It should be an expansive feeling, all around your abdomen. Still not sure how you should be breathing? Check out this video where I give a breathing masterclass.
Step 3: Open the throat and release the jaw
After aligning your body and making sure you’re breathing correctly, we’re now going to turn our attention to the jaw and throat.
I often see students locking their jaw and having a very tight throat as a result. The goal is to release your muscles in this area and have soft cheeks, which also helps loosen up the throat. For some more practical ways to do this, check out my video on how to release throat tension here.
We have now aligned your body, fixed your breathing, and loosened your jaw – all of these will have a domino effect on each other and affect the next step, the embouchure. Don’t try to jump to this step, as it’s critically important to first go through the first three steps.
Step 4: Embouchure tension
After making sure that the first three steps have been followed, let’s now turn our attention to your embouchure. Is there excessive tension there? You don’t have to overthink this! You’ll know there is tension if the cheeks are tight, you find that you get tired and have sore cheeks after a practice session or you have been told to smile when you play (please don’t ever do that – it’s bad advice! 🙈).
The goal is to have a soft, flexible embouchure. You need to be able to move it easily. And whereas the speed of the air comes from breathing and the breath, the angle of air (changing how high or low the air is going to hit your flute), has everything to do with the embouchure. You can only change the angle of the air if your embouchure is flexible and can easily move.
Step 5: Placement of the flute on the lip
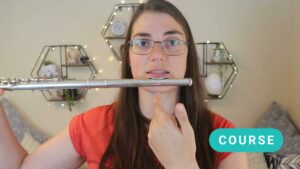
Next, let’s talk about the placement of the flute on your lip. The opening of your lips should line up with the tone hole on the flute. For some of you that may mean aligning it to one or the other side – that’s perfectly fine!
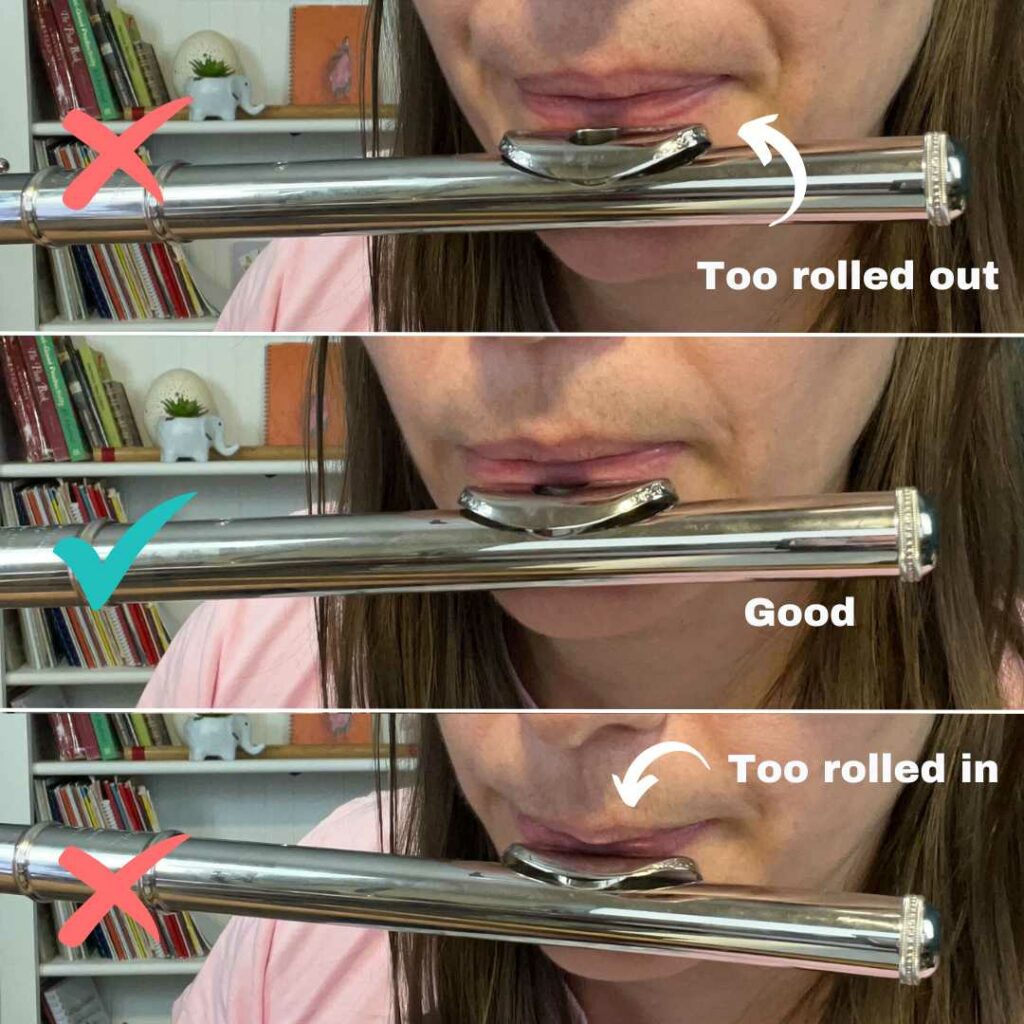
Is the flute too rolled in or rolled out?
It’s important to make sure that the tone hole on your flute is not rolled too far in or out. What I see more frequently is students having the tone hole too far in, so I often tell them to roll it out. The problem with having the tone hole too far in is that you’ll get a fishbowl kind of sound. The second register will tend to sound dull and flat – not what we want! Though playing this way might make it easier to play the second register, it’s really not good in the long term.
Your lower lip should cover a quarter to a third of the tone hole. It also needs to be pouted out to cover that tone hole.
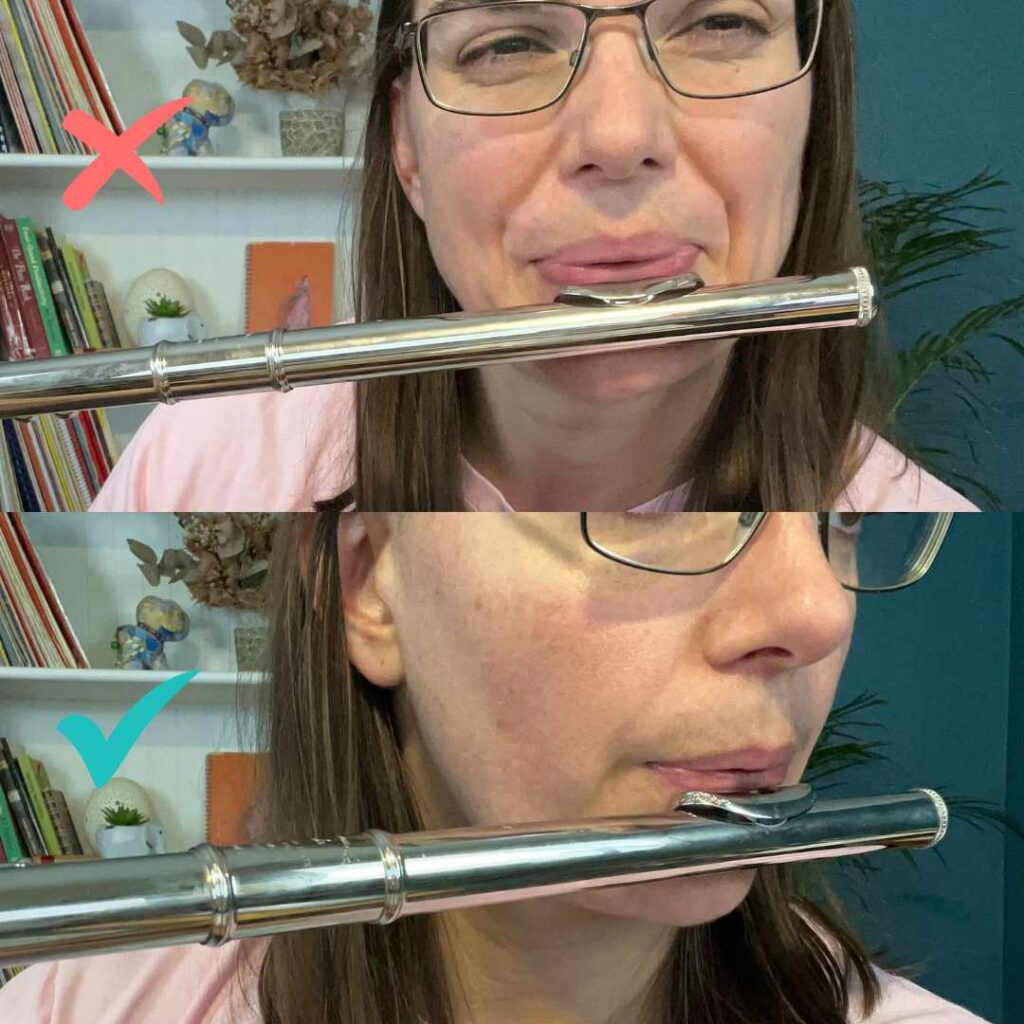
Position of the flute on the lip
The next question we need to ask is – where is the flute positioned on your lip? Is it placed too high or too low? More often, students tend to place the flute too high up on their lips, although I have occasionally also seen students who have placed the flute too low. If you have larger lips, you may need to place the flute a little higher.
Though it may take some testing and adjusting, finding the correct position for your lips is so important, as it makes the higher registers easier to play.
So how can you start doing this? Start by placing the flute low on your lip, then cuddle up to it until a sound starts to pop out at you. Then you’ll know you’ve found the right position.
Also take a moment now to make doubly sure you have your body aligned the right way, as discussed in step 1. If you don’t have that 30-45-degree angle, it can affect your sound quite drastically! I often see students with their flutes pulled back too far. As soon as they pull it forward, the position (and resulting sound) automatically changes.
Step 6: Movement of the lips
When playing the flute, your lips should not be moving by squeezing and tightening them. Rather, your lips should be moving forward and backward, thereby changing the angle of the air. This is especially true for octave exercises. Learn more about how to change the angle of the air and correctly move the lips by watching this video here.
Happy practicing!
Get the flute tone rescue cheat sheet


Responses