Ok. Here’s the short answer for the easiest way to get faster fingers: Stop trying to get faster fingers!
I thought that may not be enough, so let me explain.
I used to be one of those straight-A students in school and university. I worked my butt off. However, I was always fascinated by the people who could just pass an exam or a subject without much effort. Especially those who chose to do so. Some may call them lazy, but I think they were actually just being really smart. I mean, how do they know when they have studied just enough? How do they manage to prioritize one subject over another?
I worked hard, not because I wanted to work hard or even achieve a specific result. But rather, because I was terrified it would not be enough or that I would fail. I had no concept of what an appropriate amount of effort was for a given subject. And yes, of course, if you are studying to be a doctor I would hope you learn as much as you can, but, I would argue that maybe an Ancient Music Listening Exam for a first-year undergrad course would not need the same amount of attention. In my mind, they did.
Very often, the biggest obstacle to your finger speed is that you are working too hard. You are ‘trying’ with all your willpower to increase your finger speed. This creates excessive tension, gripping, and awkward use of the hands and fingers. We really need that 51% pass. We need to figure out how much is just enough effort and tension and to do this, we need to learn to work smart!
Ok, so I tricked you a little. Because, while this is in some senses the ‘lazy’ way to get faster fingers, it will require work, but the right kind of work. Marcel Moyse famously required three things for good practice, namely “time, patience, and intelligent work”. Today we are doing the intelligent work side of it. The time and patience will be up to you!
Where do we start?
Step 1: Get a hand(le) on it
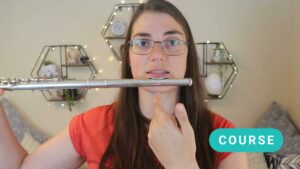
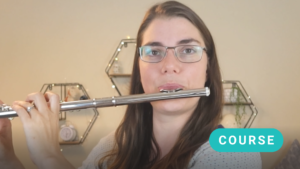
Let’s start with your hand position. This is probably THE most important rung on the ladder to faster fingers. Finding a more natural, ergonomic position for your hands can be a game changer!
When I was younger, I was incredibly frustrated by my finger technique. I just could not seem to get that wonderful speed I heard so many other flute players achieve. Then, I decided (after too many years of my teacher nagging!) to take on my hand position. I did this every day, probably for over a good year, in front of a mirror with slow scales. I still continue to tweak it as needed. The results were incredible! I went from feeling so held back by my hand position to feeling like I could do almost anything.
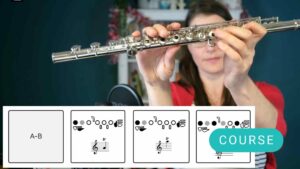
Hand position is so unique! There is no one size fits all, but there are a few common best practices that I would really recommend. Check out this video of some of our most common hand position mistakes:
Step 2: Quality over speed
Let’s assume, you have a beautiful, natural, and free hand position in place, but, your fingers are moving in a tight, panicked, or very inefficient way. This is going to be your next big stumbling block. Here are a few common problems that may come up:
You are pressing the keys down with force rather than using momentum to tap and compress the keys as much as is needed to close the key.
You are moving the fingers too far from the key, or, and this can happen too, keeping them too close. The former results in smacking the keys and very inefficient use of the fingers and the other can, albeit counterintuitively, result in tension again! You need to find the distance where your fingers can move in just enough to be free without becoming unwieldy.
Your fingers are moving away from the keys at different heights. This is a sneaky little problem but it happens so often. You lift one finger higher than the other. The problem? When you put those fingers back down again, they will hit the keys at different times (think playing E to F# and doing this!) watch your fingers in a mirror! Are they moving together to equal distances from the keys?
Your fingers are in a blind panic rather than calm with a sense of ease. This can only be practiced SLOWLY. I could write a whole blog post on how you need to go slow to go fast. But slow practice with the view of integrating some of this sense of ease in the fingers is essential!
Ok. Hand position ‘check’ finger quality ‘check’, what’s next?
Step 3: Evenness and control
You’re still not going for speed. Sorry. Your next step is to get even and controlled fingers. However, this can only be done well when steps one and two are in place. Otherwise, you will train even fingers with all those bad habits in place and, when you invariably hit that wall (and you will!) you will go back to change your hand position and realize all that evenness and control has completely disappeared. It’s like paving over a big root of a tree and then pulling the tree along its big root out from under your lovely even paving. Yikes!
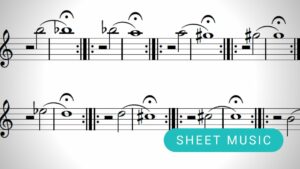
So how can you work on finger evenness and control? My favorite suggestions are to play slowly, use a metronome, and practice in rhythms. There are many different ways to approach this and finding an approach that works for you is essential.
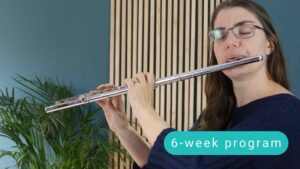
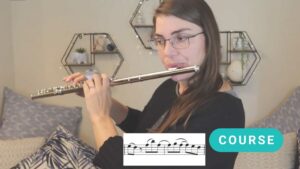
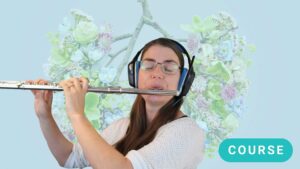
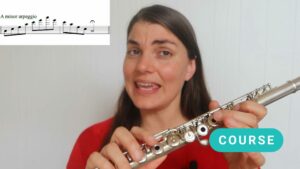
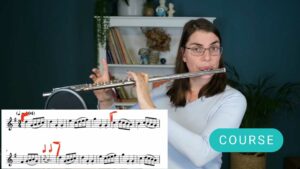
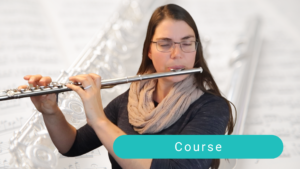
I have laid out my process for doing this in an upcoming course we are launching on the 14th of July. I walk you through my process for speeding up fingers, step-by-step while giving you some fun technical exercises to work on too. It’s a four-week program, giving you little snippets of the work to do each day. While we recommend this course for early-intermediate to very advanced players, we have created resources for less advanced players too, so you can join in on the fun. And like a slightly oversized pair of shoes, you get to grow into this course over time as you get lifetime access to this wonderful journey!
Having conversations with my 51% friends, I learned what they did to achieve this. They figured out which of the work was most important and most likely to be asked about in the exam or test. They found the part of the work that would give them the best results and focused on that. This is, I believe, your 51% recipe, so get going and let us know your thoughts in a comment below.
Tatiana
Tatiana is the founder of The Flute Practice. Outside of teaching, building a delightful flute community, and creating Flute Practice content on YouTube, she loves sharing her experiences through this blog!
Performances can be nerve-racking, even terrifying events. Yet, they can be managed! Tatiana shares 5 important lessons she has learned from playing in this kind of environment.
Your flute has the power to put a smile on someone’s face. When we step beyond our practice rooms, amazing things can happen! Join us as we explore some of the ways you can share your music.
There are many powerful reasons to learn the flute as an adult. Join us as we explore some of the remarkable benefits of playing this wonderful instrument, no matter your age!
Mastering the flute starts with getting the basics right. We break down the 6 key fundamentals of flute playing, from mindset and body alignment to breath control and articulation. These basic building blocks are vital for your growth as a flutist.
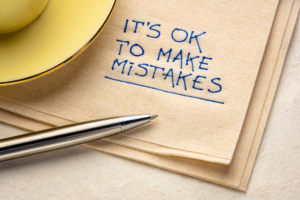
Most of us don’t like making mistakes when we play; we’d prefer to avoid them. In doing so, we miss out on the valuable lessons they can offer. Discover why embracing mistakes might be the best thing you’ll ever do for your growth as a musician!
Struggling to build an effective flute practice plan? In just 5 simple steps, you’ll learn how to balance technical exercises with fun pieces, set achievable goals, and create a flexible schedule that works for you.
Please note:
This action will also remove this member from your connections and send a report to the site admin.
Please allow a few minutes for this process to complete.


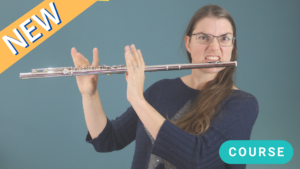 Faster fingers in four weeks$79,99


Responses